Elastic as Code: Automating More Than Just Infrastructure
Terraform is a tool frequently used by engineers to create, modify, and delete infrastructure using a pattern called Infrastructure as Code (IaC). Although commonly used to manage cloud resources like application load balancers (ALBs), databases, and virtual machines, it can also be used to manage Elastic clusters. But in many Elastic environments, everything after the cluster is created happens inside Kibana — index templates, index lifecycle management (ILM) policies, detection rules, etc.
This results in no source control, no ability to rollback changes, no drift detection, and no audit trail of who changed what or why.
Elastic is an API-driven platform, meaning that nearly everything you can do in Kibana can also be done through APIs. This means we can manage more than just the infrastructure as code, giving us reproducible environments, auditability, and confidence in our stack.
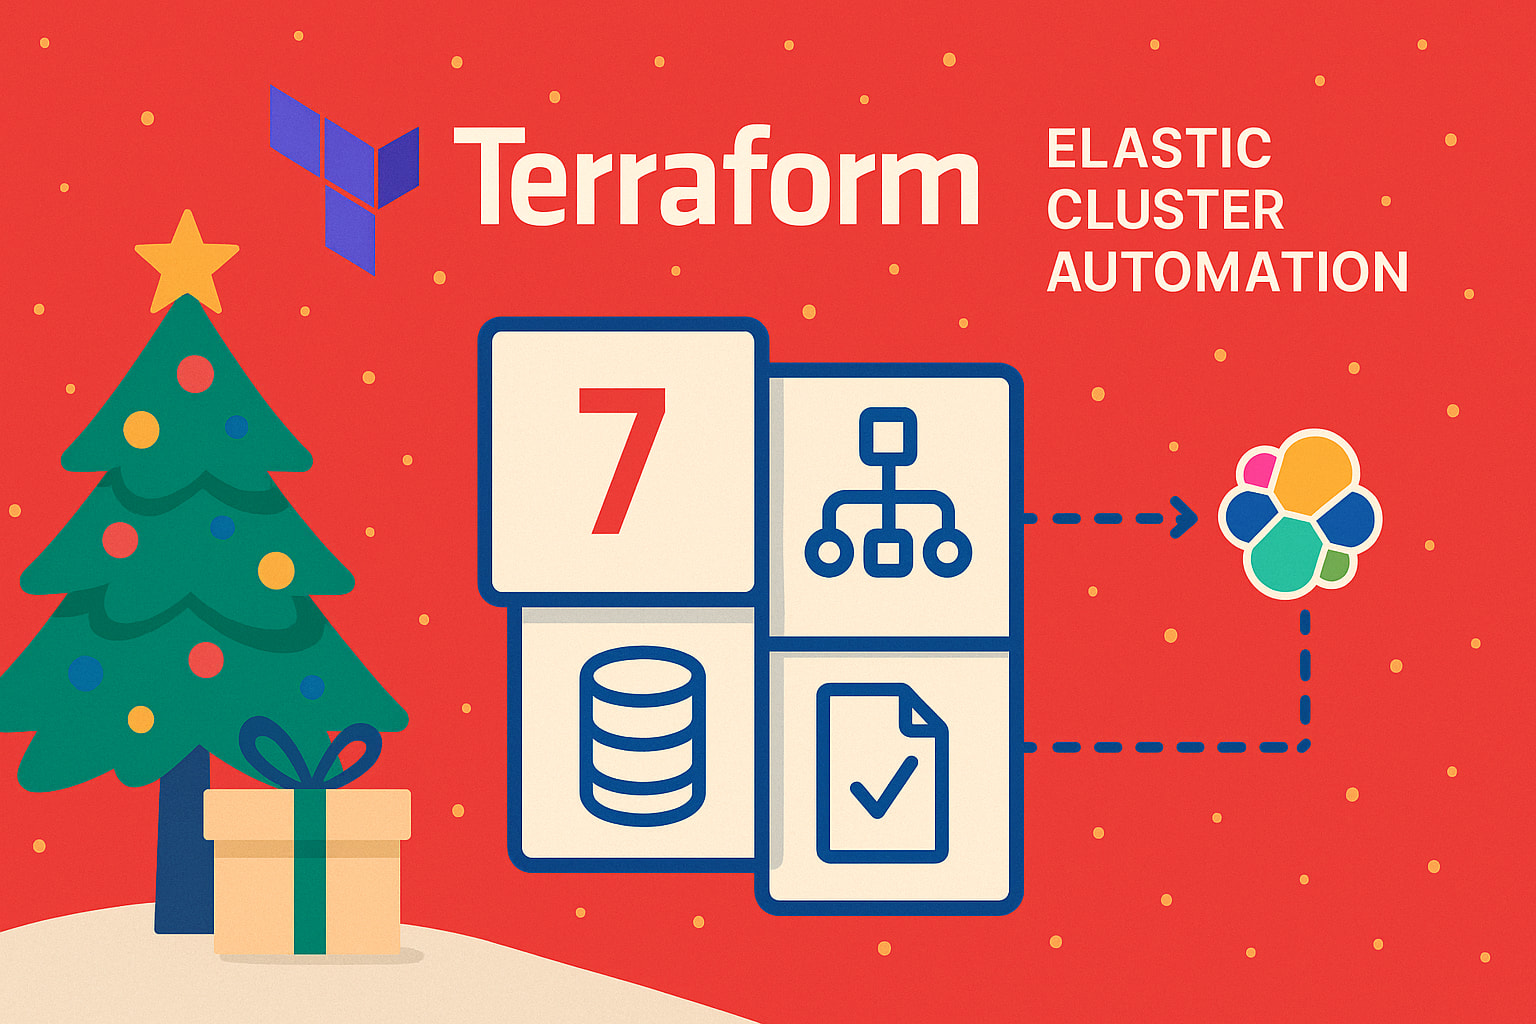
In today’s blog, I am going to show how, with one terraform apply command, you can create an Elastic Cloud cluster, an ILM policy, an index template, and a detection rule — all version-controlled in Git.
The Idea
Kibana is excellent when you're just getting started with Elastic, learning how a certain feature works, or debugging an ES|QL query for a detection rule, but ultimately, the goal should be to keep everything as code as much as possible. This allows you to experiment, but still be able to rollback to a working version. It also ensures that changes moving from DEV to PROD are reviewed and approved. Just like pushing a new version of application code can be catastrophic, modifying a detection rule running in your Security Operations Center (SOC) can be just as risky.
Elastic exposes APIs for nearly every part of the platform. So by combining Terraform Elastic Cloud Provider and Elastic Stack Provider, we can build a reproducible Elastic-as-Code workflow, which deploys a cloud cluster, ILM policy, index template, and detection rule.
Step 1: Deploy an Elastic Cloud Cluster
Using the Elastic Cloud provider, define an ec_deployment resource in your root main.tf file:
resource "ec_deployment" "demo" {
  name                   = "advent-demo"
  region                 = "us-east-1"
  version                = "9.2.2"
  deployment_template_id = "aws-cpu-optimized-faster-warm-arm"

  elasticsearch = {
    hot = {
      autoscaling = {}
    }
  }

  kibana = {
    topology = {}
  }
}
This creates a fully managed Elastic Cloud deployment. Note that despite not specifying the hot-tier node specs explicitly, it is still required to include hot = { autoscaling = {} }. More information on deployment templates can be found in the Deployment templates documentation.
Step 2: Define an ILM Policy
Using the Elasticstack provider, define an ILM policy using the elasticstack_elasticsearch_index_lifecycle resource:
resource "elasticstack_elasticsearch_index_lifecycle" "advent_logs_ilm" {
  name = "advent-logs-ilm"
  delete {
    min_age = "30d"

    delete {}
  }
}
For simplicity, this ILM policy keeps the data in the hot tier for 30 days before deletion. Tracking ILM policies in code is incredibly valuable, as changes can have cascading effects on not just the data but also the overall cluster health. Imagine a scenario where an engineer decides to add a cold tier with one primary and one replica shard, however, only one cold node. As you can imagine, you would quickly start seeing warnings.
Step 3: Index Template with ILM Attached
For this step, we are going to use the elasticstack_elasticsearch_index_template resource to define our index template with the ILM policy referenced in the previous step:
resource "elasticstack_elasticsearch_index_template" "advent_logs_template" {
  name           = "advent-logs-template"
  index_patterns = ["advent-logs-*"]
  priority       = 200

  template {
    settings = jsonencode({
      index = {
        lifecycle = {
          name = "advent-logs-ilm"
        }
      }
    })

    mappings = jsonencode({
      properties = {
        "@timestamp" = {
          type = "date"
        }
        "message" = {
          type = "text"
        }
        "user" = {
          type = "keyword"
        }
      }
    })
  }
}
Now, every index that starts with advent-logs-*, inherits the mappings, settings, and our advent_logs_ilm policy automatically. Much better than trying to manage this in Kibana.
Step 4: A Detection Rule
As a frequent user of detection rules for everything from traditional SIEM to more complex fraud use cases, Discover and Kibana Detection Rules are a powerful combination, but once you're figured out your final config, it's best to store that in Git using a elasticstack_kibana_security_detection_rule resource:
resource "elasticstack_kibana_security_detection_rule" "failed_login_rule" {
  name        = "Multiple Failed Logins (Elastic as Code demo)"
  description = "Detects multiple failed login events in advent-logs indices for the Elastic-as-Code demo."
  rule_id     = "advent-multiple-failed-logins"

  # Detection logic
  type     = "query"
  query    = "event.action:\"failed-login\""
  language = "kuery"
  index  = ["advent-logs-*"]

  # Scheduling
  from     = "now-5m"
  to       = "now"
  interval = "5m"

  # Risk/severity
  severity   = "medium"
  risk_score = 50

  # Misc metadata
  enabled = true
  tags    = ["terraform", "advent-demo", "elastic-as-code"]
  author = ["Kyle Rozanitis"]

  # Human context field
  license         = "Elastic License v2"
  false_positives = ["Legitimate user mistyping their password during normal usage"]
  references      = ["https://elastic.github.io/detection-rules-explorer/"]
  note            = "Investigate source IP, username, and host. Check for brute force behavior."
  setup           = "Ensure authentication events are indexed into 'advent-logs-*'."
}
Step 5: Let's Bring It All to Life
Your repo should now look something like this:
├── main.tf
├── ilm.tf
├── template.tf
├── rule.tf
If you prefer to keep the root clean, you can move ilm.tf, template.tf, and rule.tf into a modules folder. Terraform doesn't care about the name of the file or its location, it loads all .tf files. The only requirement is that relative path references are correct. The directory structure is for humans, not Terraform.
Now just run:
terraform apply
And Terraform provisions:
- A new Elastic Cloud cluster
- An ILM policy
- An index template wired to that ILM policy
- A detection rule
This is the Elastic platform as it was meant to be used.
Closing Remarks
If you've made it this far, thanks for reading! All of this is available in a GitHub repo called elastic-as-code. Just clone the repo, create an Elastic Cloud API key and grab your Organization ID, add them to a .env file, install Terraform, and run terraform apply.
Today’s goal was to show how you can manage far more than just cloud infrastructure with Terraform. In my personal environments, I like to take this even further by creating JSON files for features, like anomaly detection jobs, that don’t yet have Terraform resources. Since Elastic provides feature parity between Kibana and the API, you can easily automate the creation of the rest of your resources.
The ability to roll back bad changes, peer-review updates before they occur, promote from DEV → STAGING → PROD via branches, detect platform drift, and reproduce your entire stack with a single command is powerful.
Happy automating, and happy holidays!
